As multiple posts on this site can confirm, I am someone who is inclined to get aesthetically obsessed with stories I love. Often that obsession is focused on a prop or two or a particular set, but for Lois & Clark: The New Adventures of Superman, it’s the whole damn pie.
Everything about the show is comfort food to me. The world of the show is a mix of extreme artifice and physical reality that I tuned into as a child and haven’t turned off since. Naturally, this fascination has led to many projects over the years and an even longer list of projects I’ve yet to conquer.
The easiest projects are art-based. From the various Daily Planet letterheads used throughout the series to recurring logos and signage, I’ve been able to put my version of a lot of it together over the years, most of which are posted below for my fellow FOLCs to enjoy. The bigger projects are the prop replicas, which can be as easy as a sticker on a found object, or as difficult as half-building a spaceship in an apartment.
I would love to speak with some of the artistic talent and creative minds behind the series’ look in the future, but for now, this is the closest I can get to 90s Metropolis.
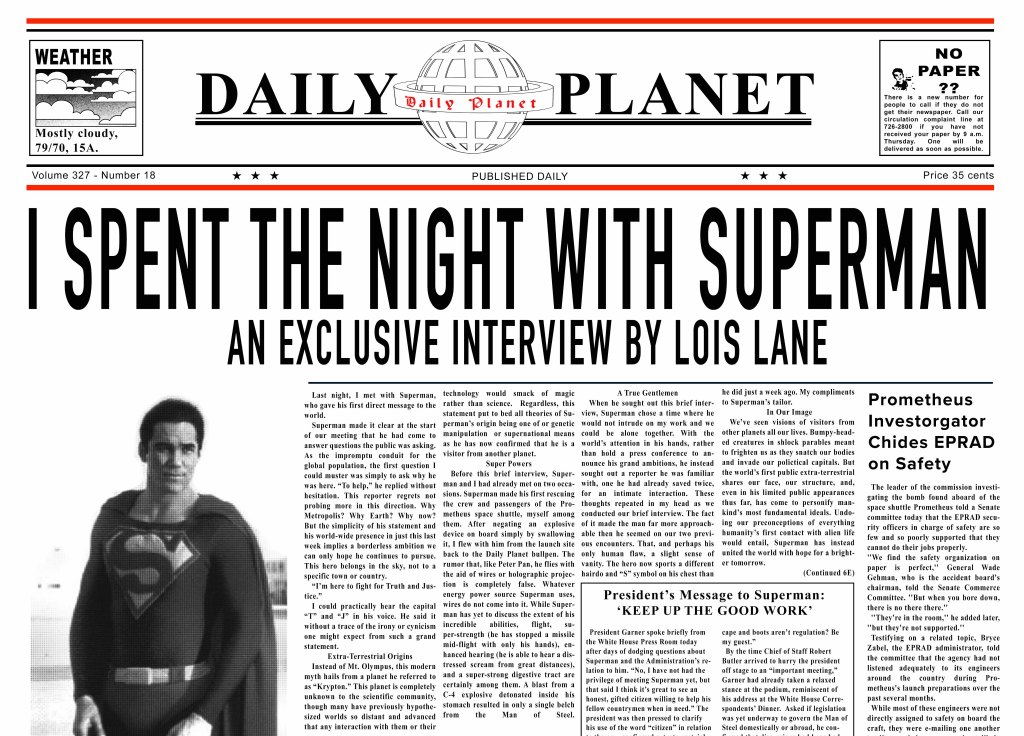
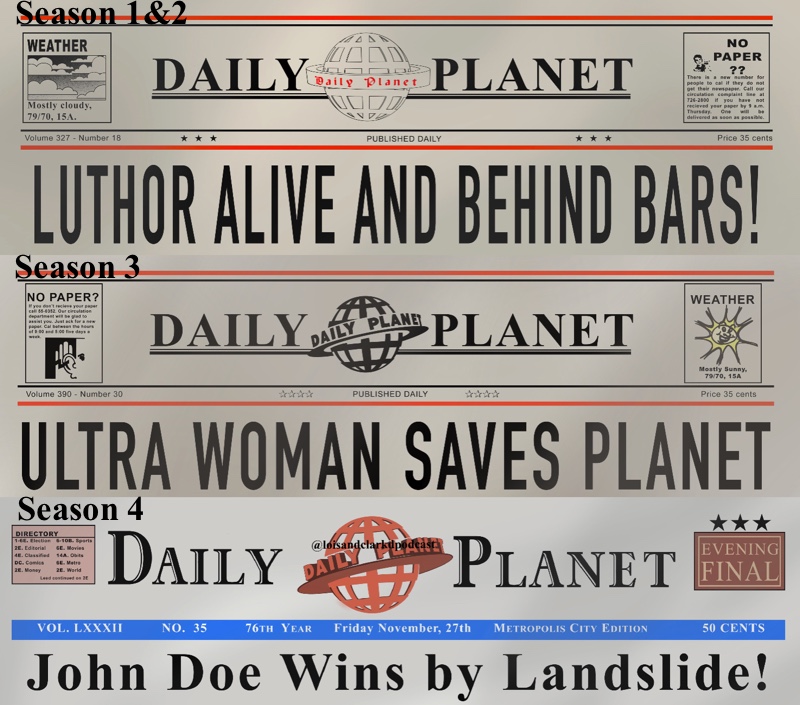
DAILY PLANET


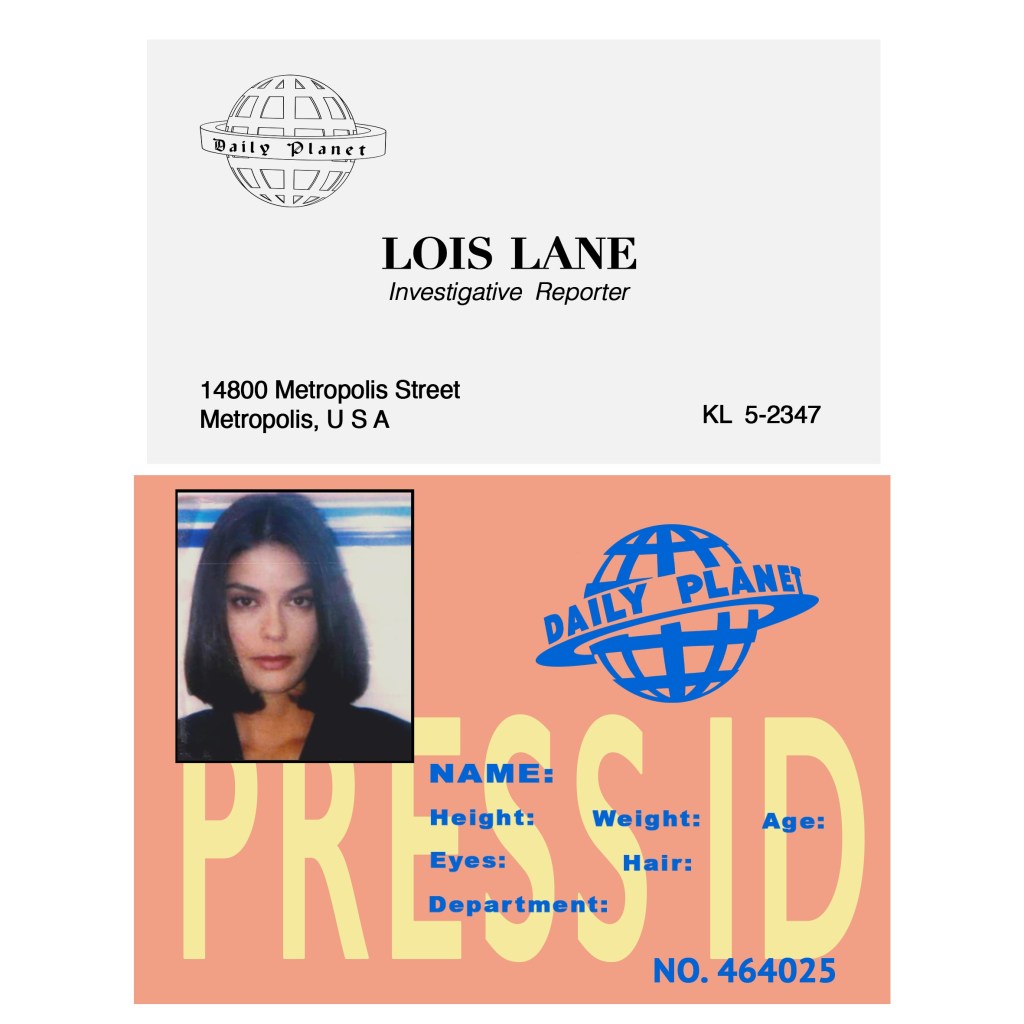
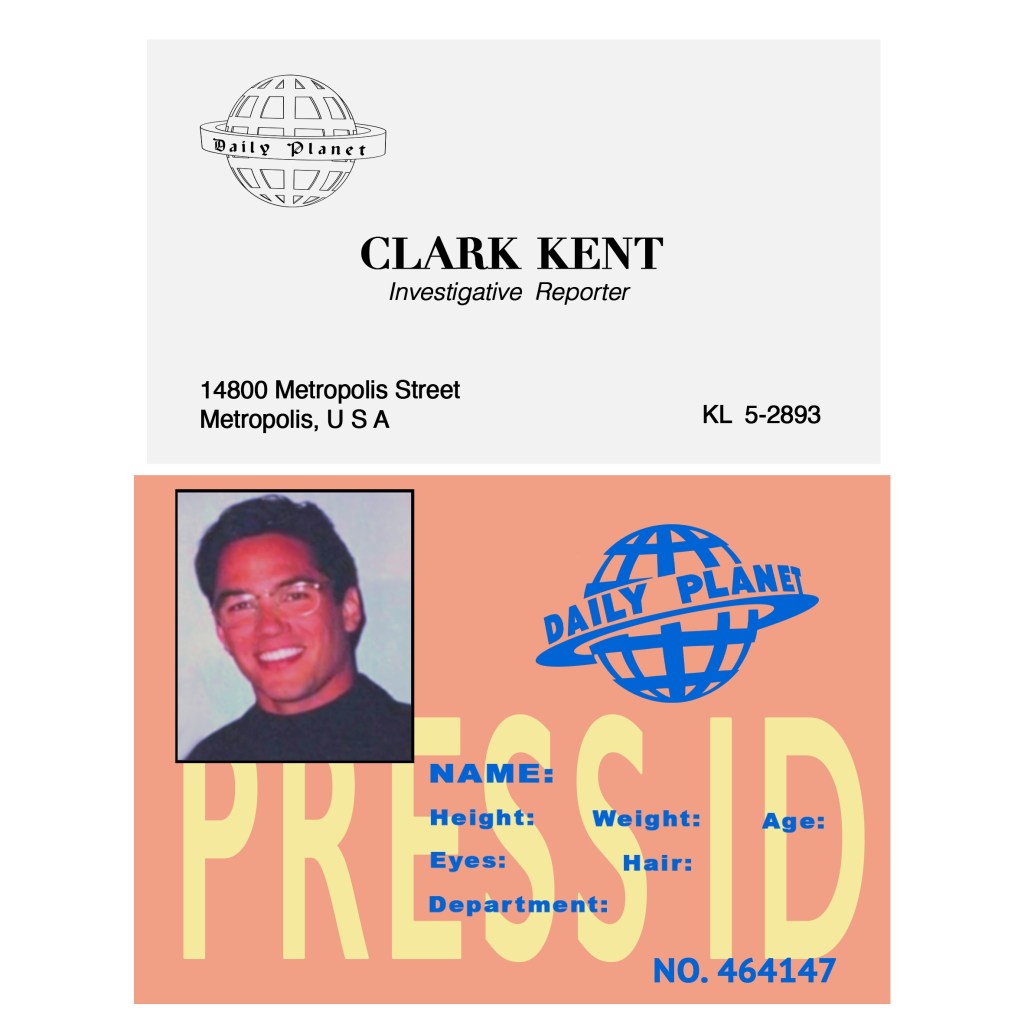
I’ve been making replica of the show’s Daily Planet issues since my construction paper and Magic Marker days. Things took a bit of a jump though once I got an iPad and Photoshop.
I love how the logo for the Planet changed throughout the series, becoming more modern and colorful to stay in step with the show itself. The letterhead replicas are deceptively time-consuming as all the smaller pieces take just as much research and work as the Planet logo itself.
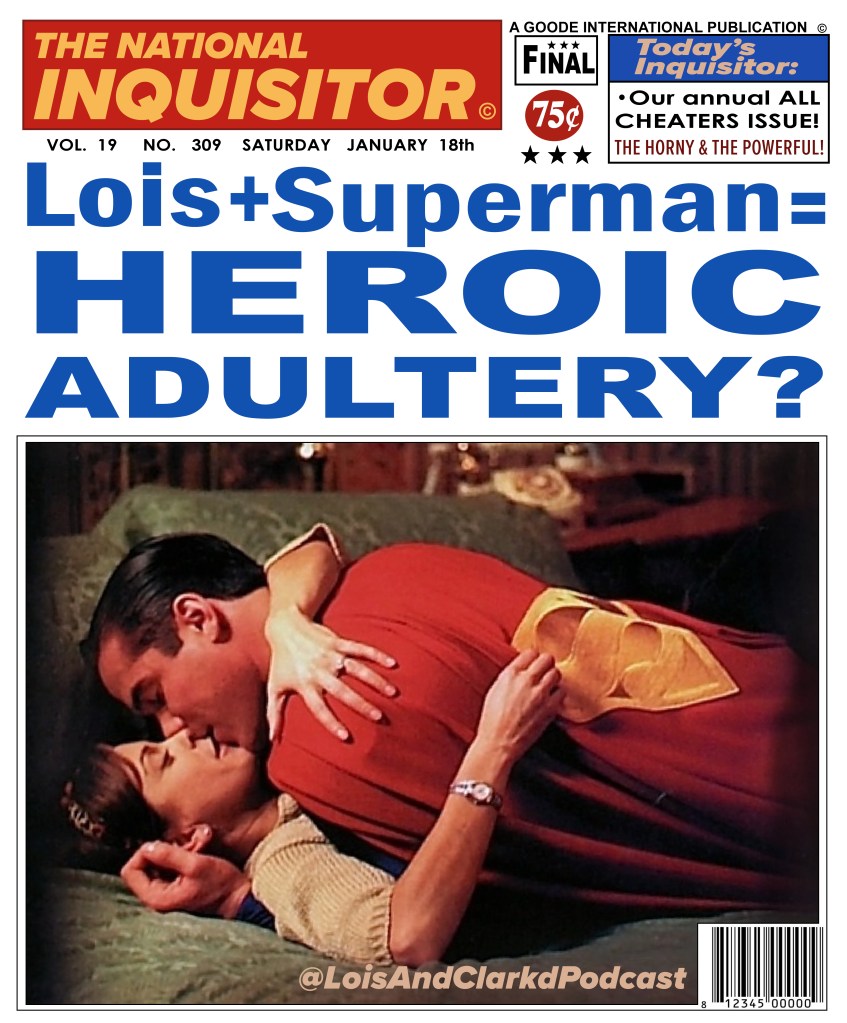
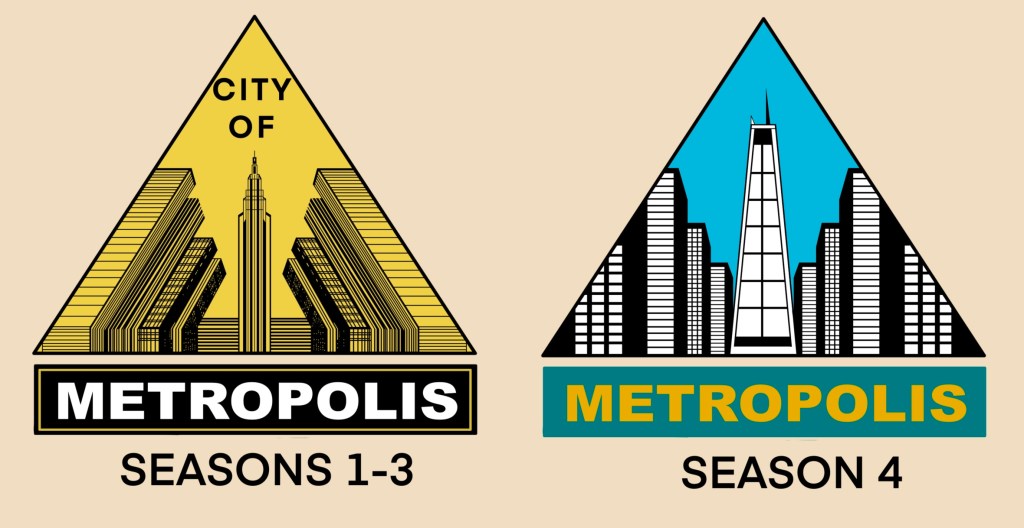
2D REPLICAS/LOGOS
There is no shortage of logos and art pieces that I want to replicate from this series. Some fairly straightforward, while some take far more time to complete than I’d care to admit publicly.


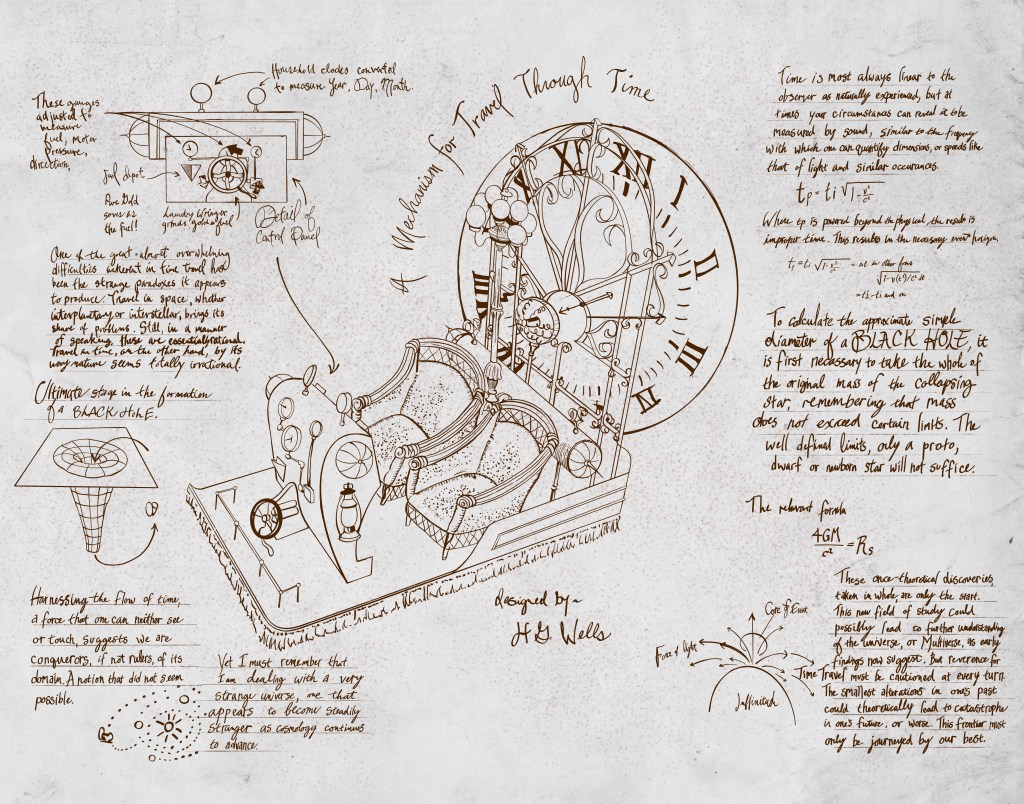


The biggest time-draining culprit here is, ironically, the HG Wells time machine blueprints. The drawing of the machine itself was done over several days, while the rest took just as long to figure out. It is also the least accurate thing on this page, as a good 40% of the piece is never clearly seen on screen, which meant I had to enter fan-fic mode to figure out what it should all say. If anyone’s interested, it’s designed to be printed as 28″ x 22″. Send pictures, please!
PROP REPLICAS
KEY TO THE CITY: Sure, it took me hours and hours of searching for the right key, but once that was done, this was a pretty straightforward project. Just took a few decals, some styrene, gold paint, and steady hands.


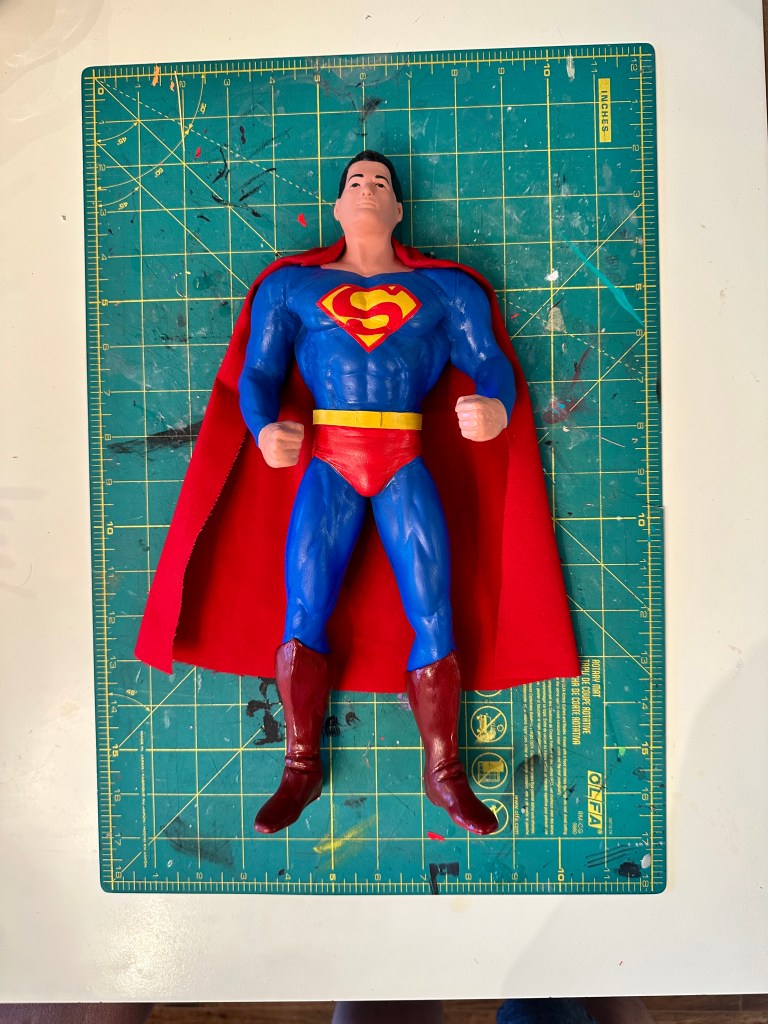
IN-UNIVERSE SUPERMAN DOLL: Kripstly Toys proudly presents…
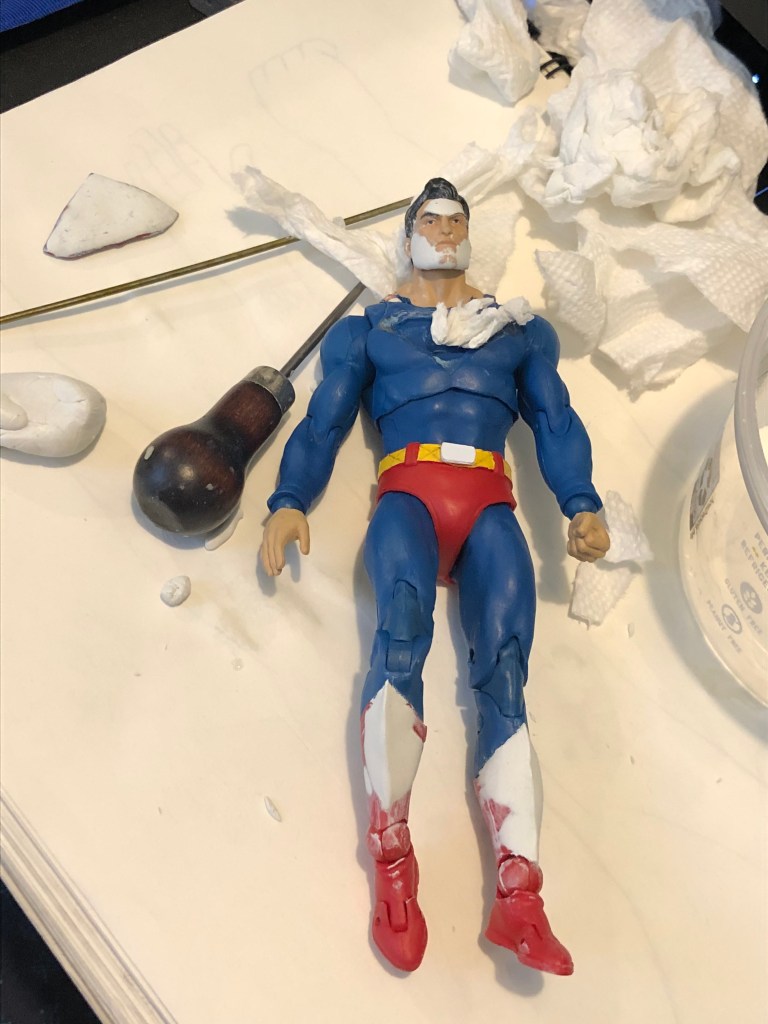
This project has been in my head for years! I’d always assumed the prop Superman doll seen in 4×21, “Toy Story,” was a customized doll based on a pre-existing toy. The pose and sculpt look like a Kenner doll produced in 1995, but that toy was far too short. The prop could have been a doll from another property (WWE, Marvel, etc.), but after hours, days, and months of searching, I never found anything that fit precisely (see my @loisandclarkdpodcast posts about this prop for more theories and proof that I’m cool and normal). So, giving up on “perfect,” I decided to riff and make this replica my own way.


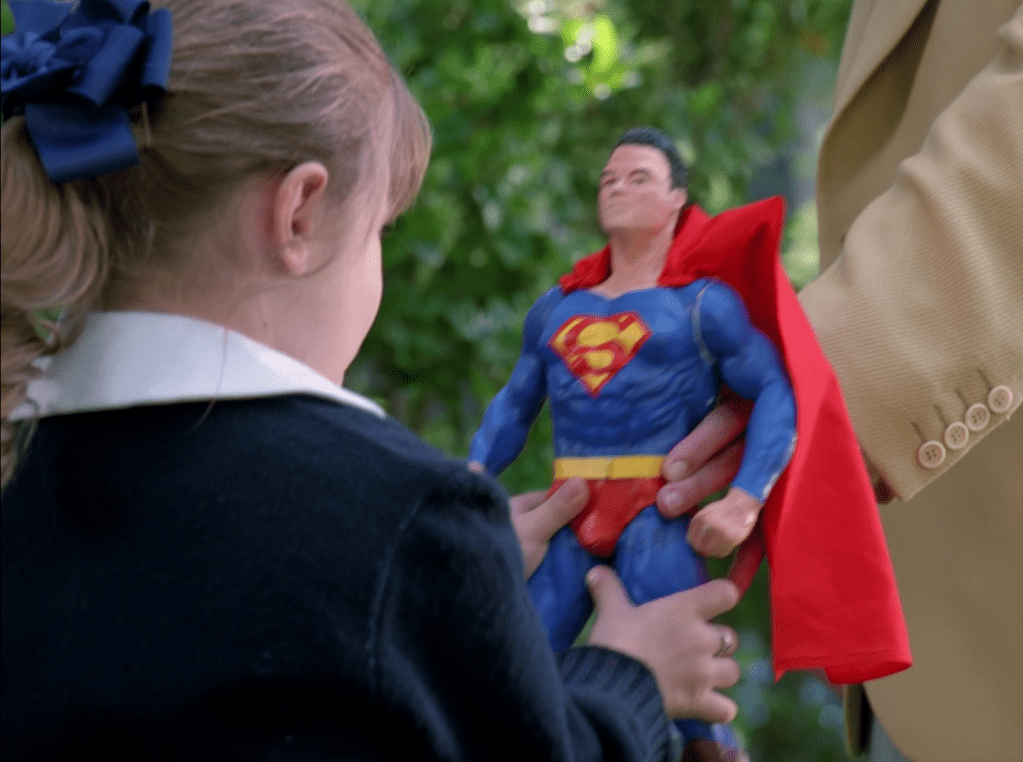
The body is a Horizons vinyl kit from the 1990s. The body sculpt was appropriately crazy-ripped, but the pose was wrong. Cuts, trims, and my heat gun reformed the arms and the legs to match the prop as much as possible before I added armature wire and glued the body together. Then came the first sculpting phase. I used two-part sculpting resin to fill in the cuts I made in the limbs and create L&C-appropriate boots.


The head from the Horizons model was not remotely right, so I lobbed it off and substituted a head from a DC Direct Superman of the era (technically, all these pieces were available to work from at the time of the prop’s fabrication, though, again, who the hell knows what they used?!).
I started with the neck and then went about “correcting” the facial features. The head was still feeling too narrow, so I expanded the face using the ears from the vinyl model and resculpted the hair entirely.


A few coats of paint, too many attempts at getting the S symbol right, and one quick cape later, this guy was ready to fly (or teleport, according to the episode).
I am NOT a sculptor, so the face isn’t an exact match for the original, but I’m pretty happy with it overall. I knew from the start of this project that my final product wouldn’t be perfect, and that’s okay. The show wasn’t either, but here we all are still!


DAILY PLANET MUG: I thought this would be an easy one when I first looked into it a few years ago, but you try finding a place that A) has the right mugs, B) can print in gold leaf, and C) will let you order in quantities less than HUNDREDS!
Ultimately, I found a German company that could print the decal for me, which I then applied to some Amazon mugs. Ultimately, the mugs came out great, and I got to spread the joy to a few other fans.


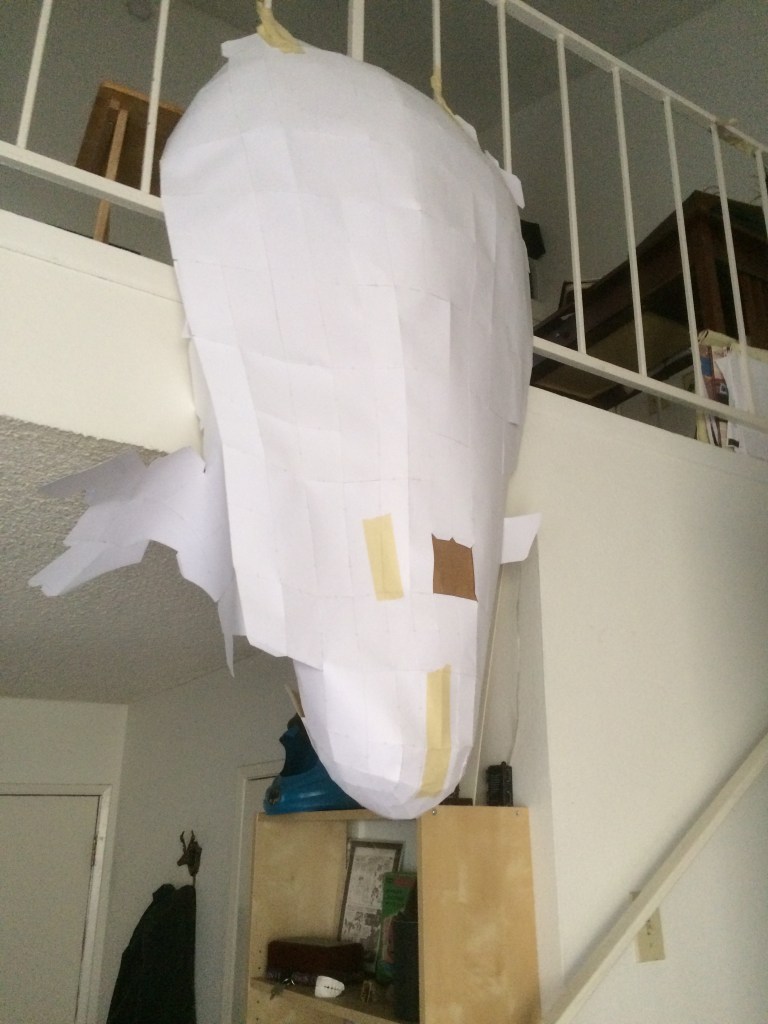
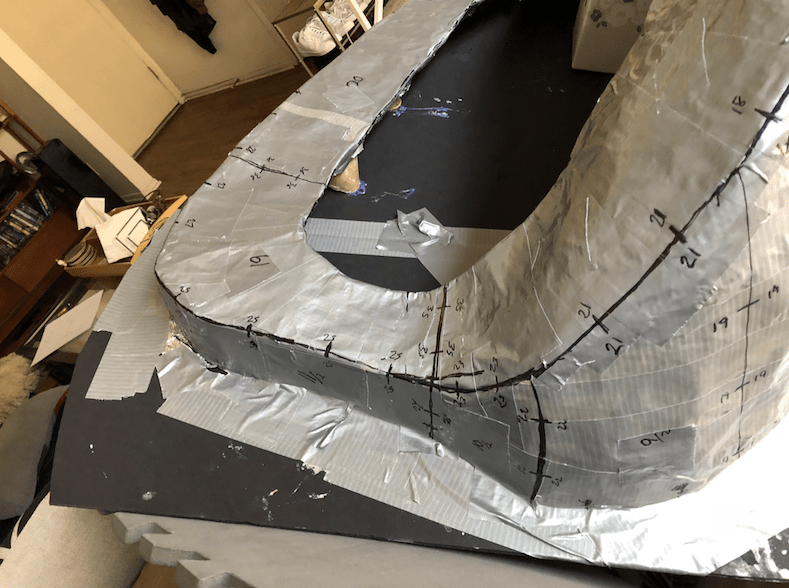
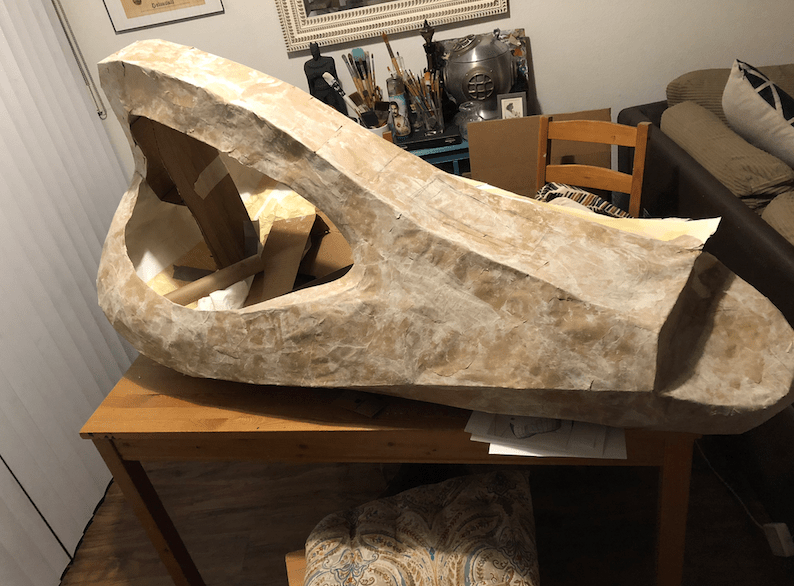
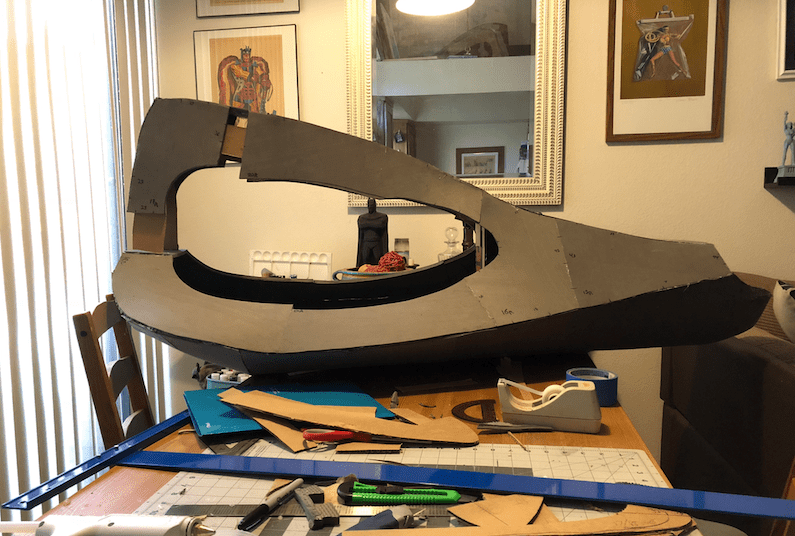
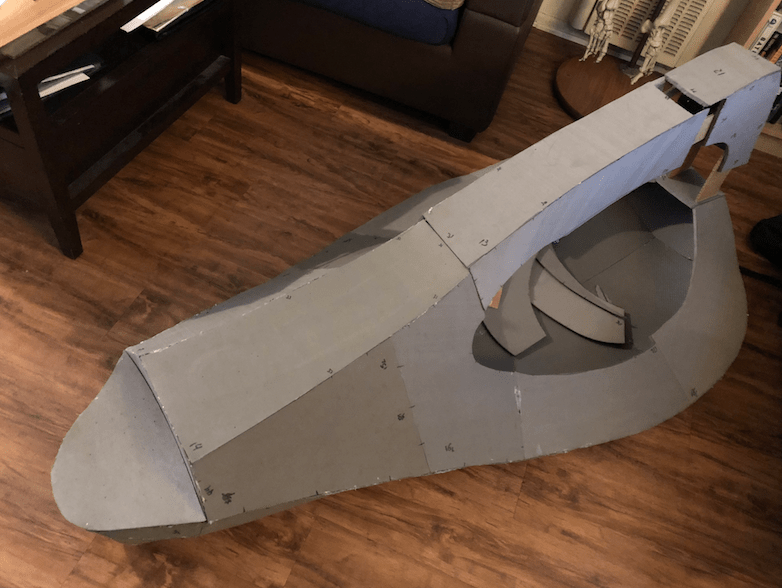
KRYPTONIAN SPACESHIP: It is no secret that my favorite prop from the series (if not from anything ever) is the spaceship baby Clark came to Earth in.
I’ve made (or at least started) a few attempts at it over the years, but still haven’t cracked it completely. My most elaborate attempt so far involved a 3D model, translated to paper, then paper mache, then EVA foam. To be continued…


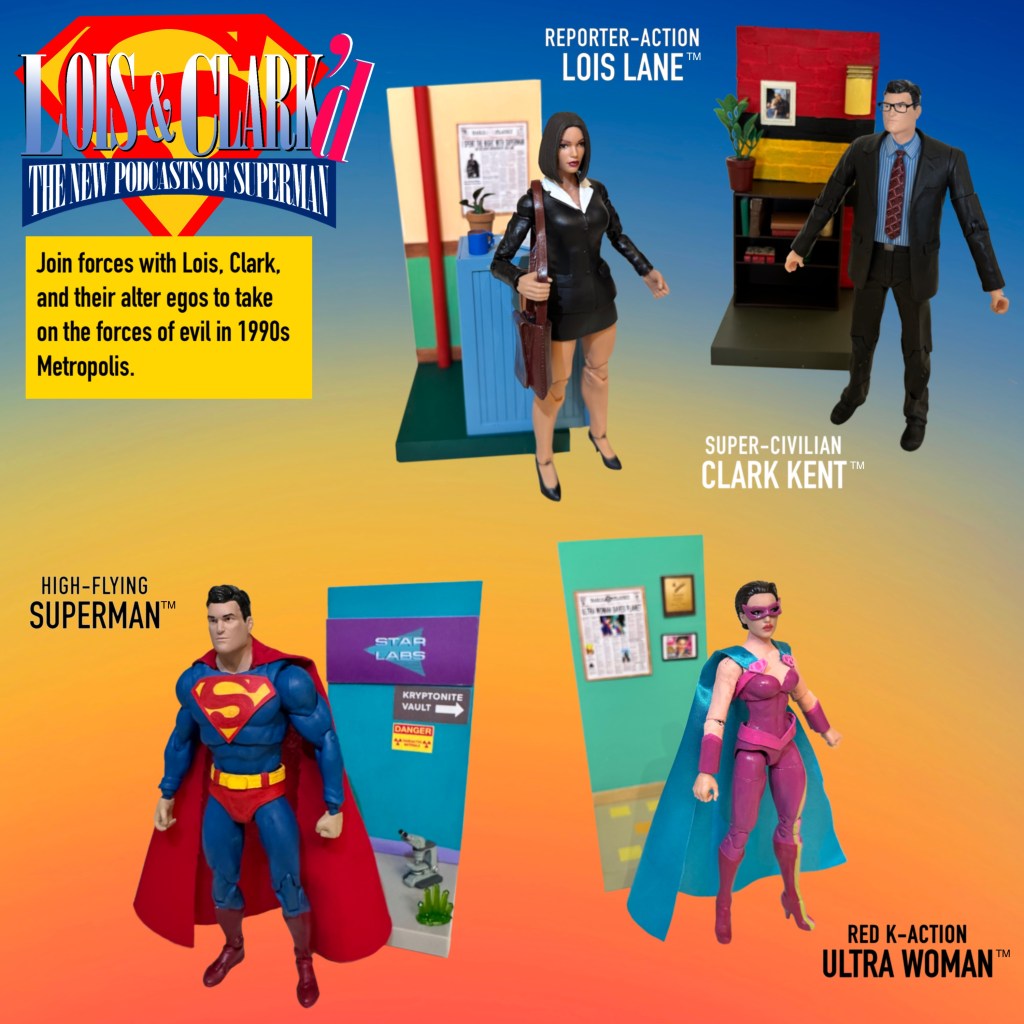
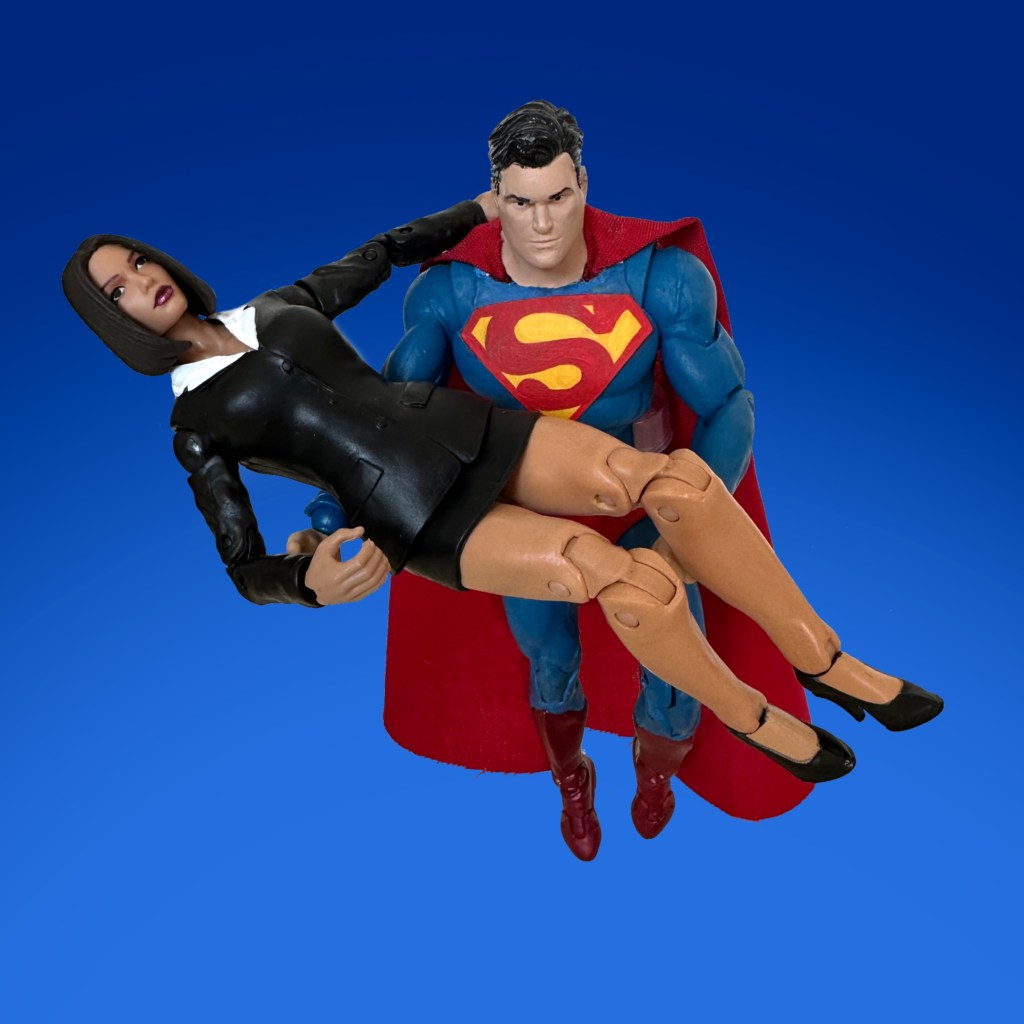
ACTION FIGURES
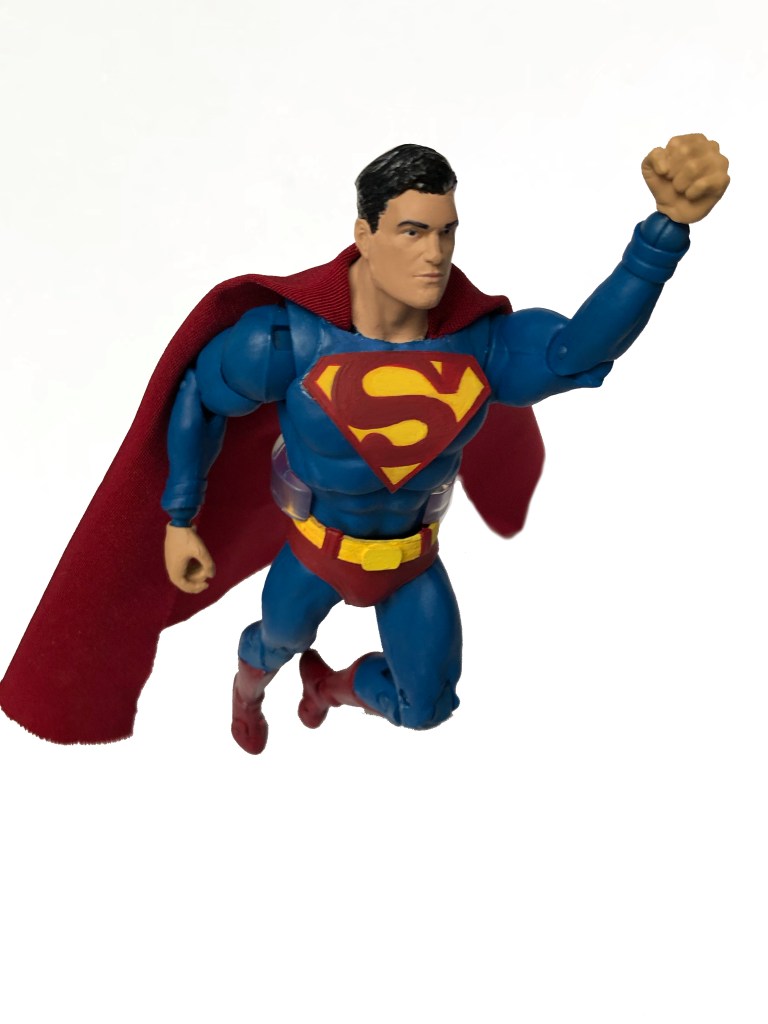
When I was a kid, the first real figure customizing I ever did was with capes, giving my Keaton Batman and animated Superman runway-long capes so they looked cool when the flew (read: fell) from bannisters. My animated Superman figure still has his glued on cape and roughly painted S symbol on the back. I’m not a regular customizer, but when I saw the Action Comics #1000 Superman I thought it would be a perfect base figure for a Lois & Clark version.
I yanked off the plastic cape and the chest symbol (harder than it sounds), cut off the hair curl and a bit of the nose, and cut two holes in his shoulders for the new cape. The trickiest part was sculpting the boot tops and parts of the face to make him look rounder and less angry. I don’t sculpt much, so making that type of thing look good is a struggle for me. The new S and belt buckle are styrene.
After painting everything accept the blue of the suit, I cut out a cape and ironed on a decal for the back symbol.


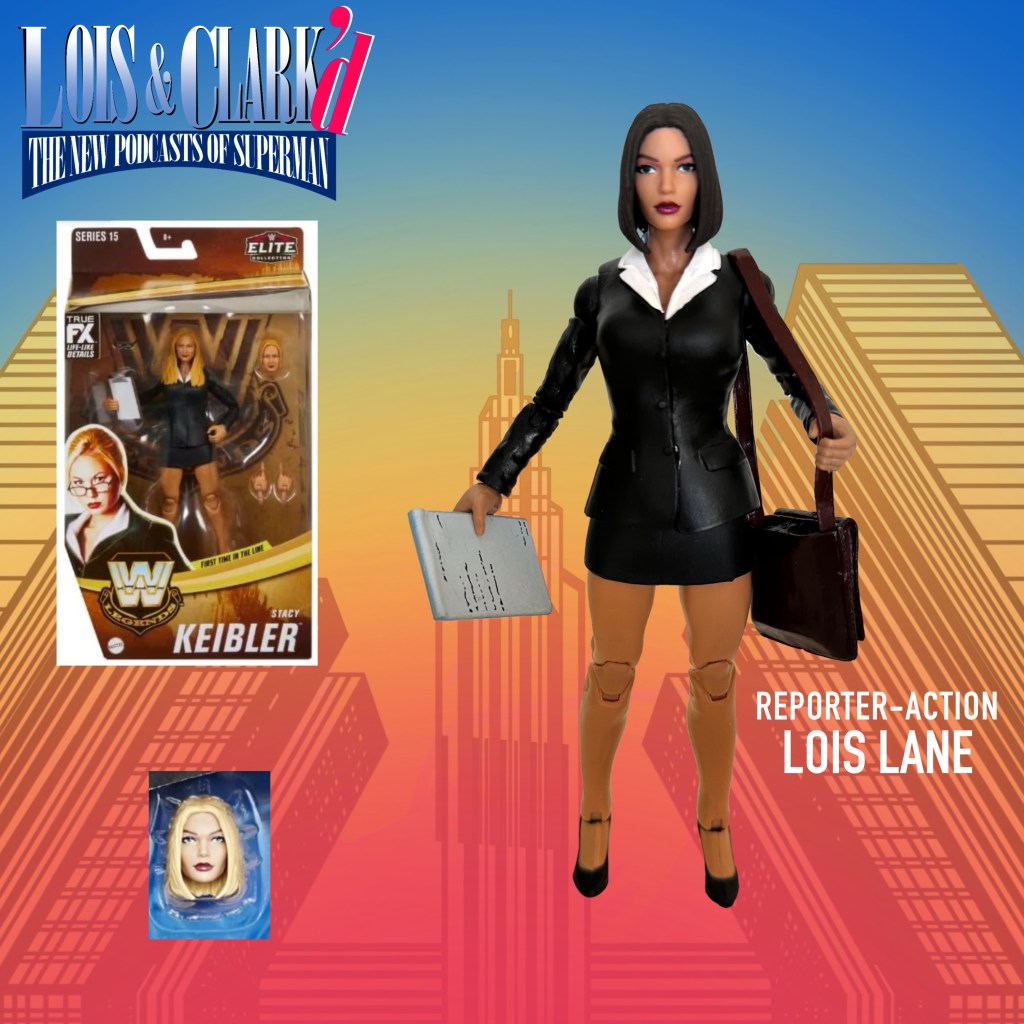
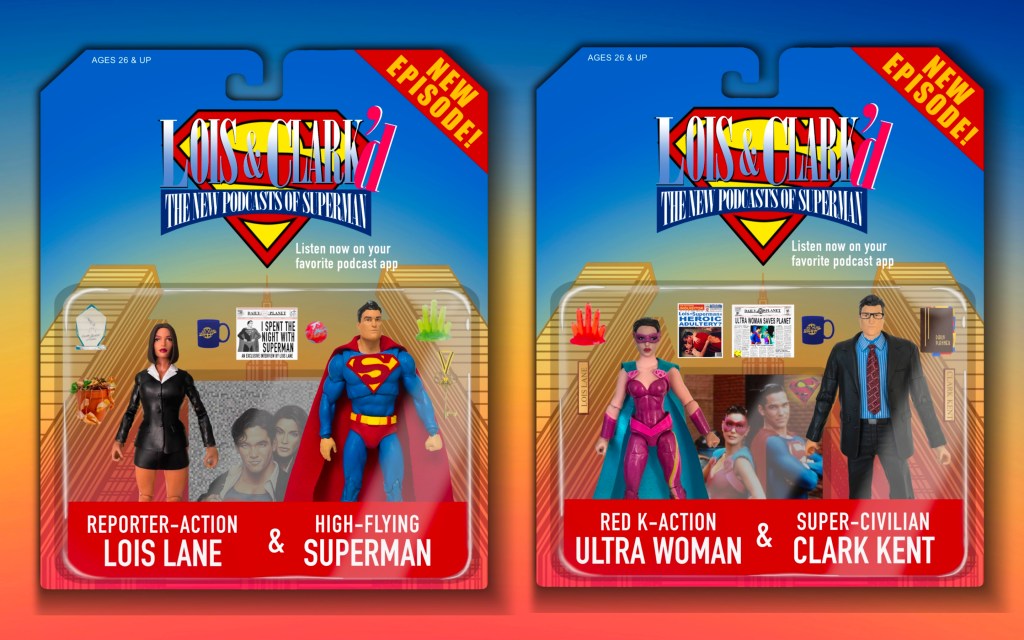
A toy-centric podcast episode gave me the excuse to fill out my custom figure line a bit.
Lois was very simple, thankfully. The body is a WWE Stacy Keibler figure (no clue, but my thanks to her) with the alt head from a Marvel Legends Emma Frost figure. The hair sculpt was already perfect, so I just repainted the hair, eyes, lips, and voila: Teri Hatcher circa 1994.
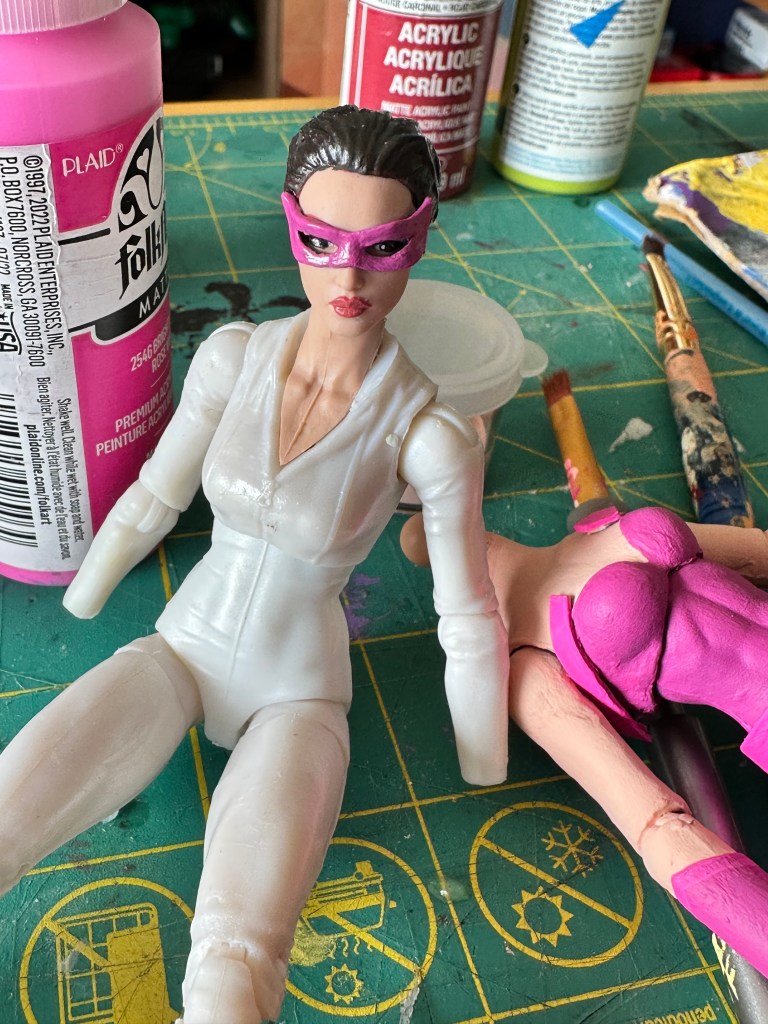
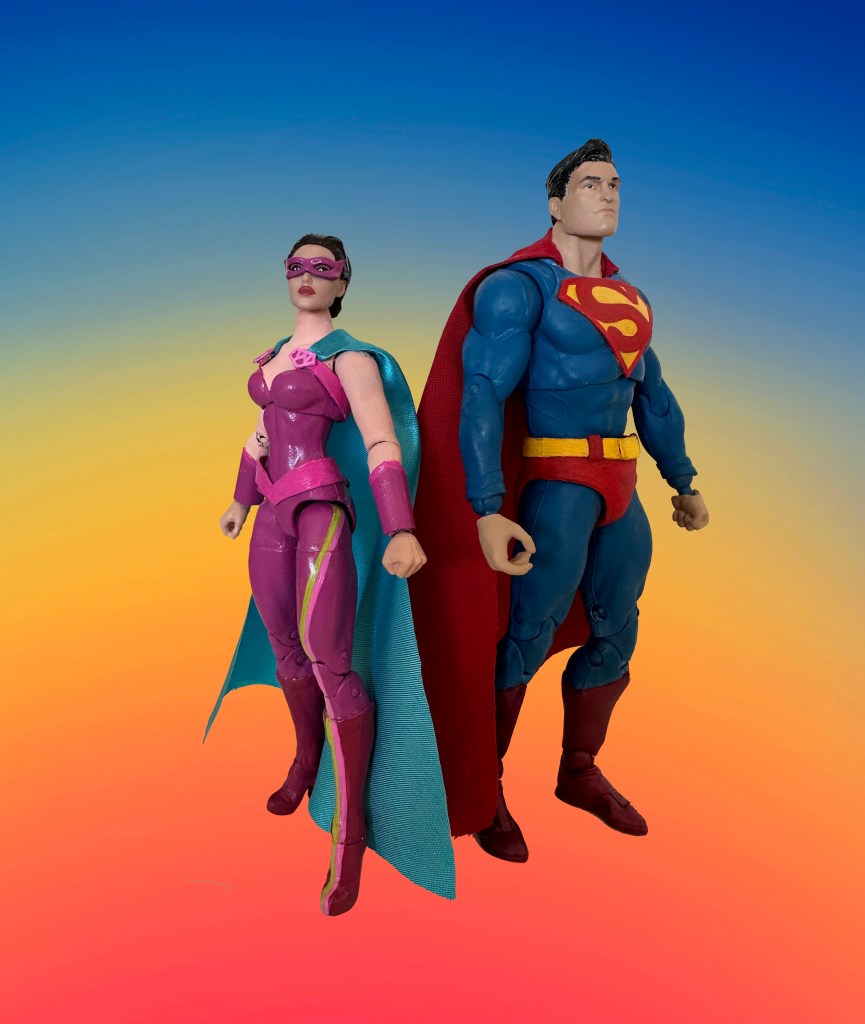
Ultra-Woman was where the real work began. I used the body of the already-purchased Emma Frost and the head of a long-haired Black Widow. I gave her a severe trim and resculpted what remained of her hair to match the look on the show. A McFarlane Julie Newmar Catwoman sacrificed her mask for the effort. The body was smoothed down with a bit of sculpting to fill in a hole where her collar initially attached. I sculpted the boot tops and made the belt, cuffs, logos, and straps out of styrene. It all then got primed and painted a million times before she was ready to fly.


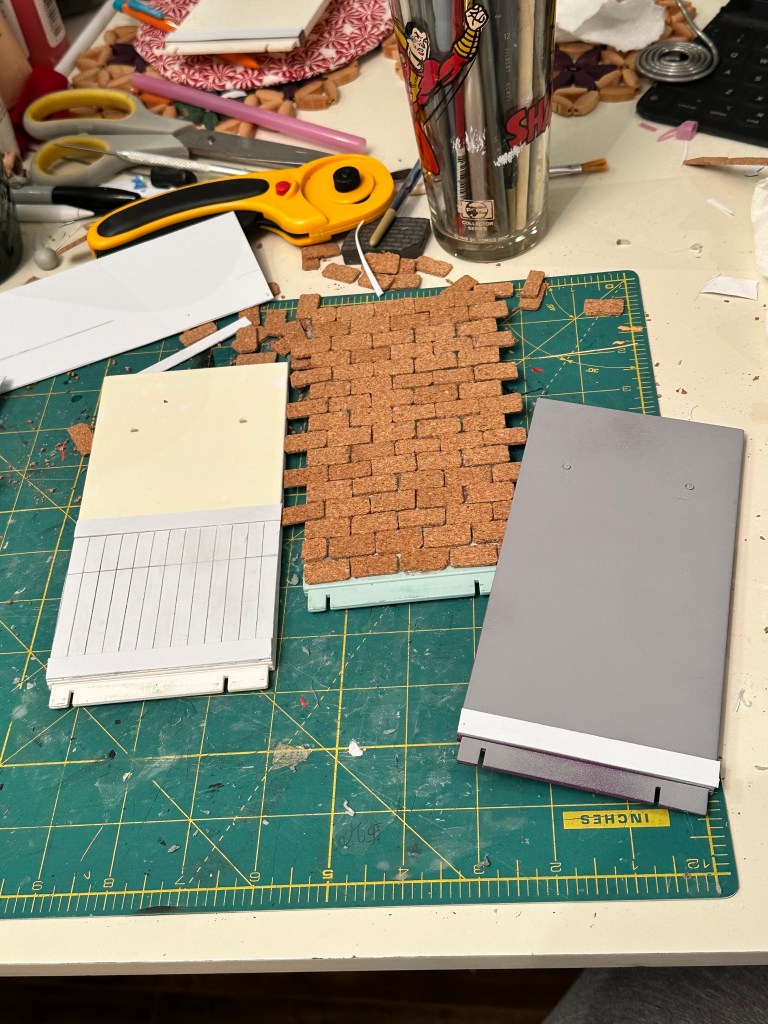
The display platforms are all customized using ones I had from my Buffy/Angel figure collection (the eventual accessories, too). Most of this was just styrene, paint, and stickers, though the bricks in Clark’s apartment were a little more complicated. They are made from the thinnest corkboard I could find, with a few passes of spackle, Modge Podge, and primer to give them the look I wanted.

This is probably not the last of this project. The Clark seen above is a Photoshop special (I didn’t have time to do him for real before the podcast!), and there is a regrettable lack of villains. Still, I’m happy with how the current ones came out and am forever looking for the best way to make Lex, Tempus, and Spencer Spencer figures.
MINIATURES
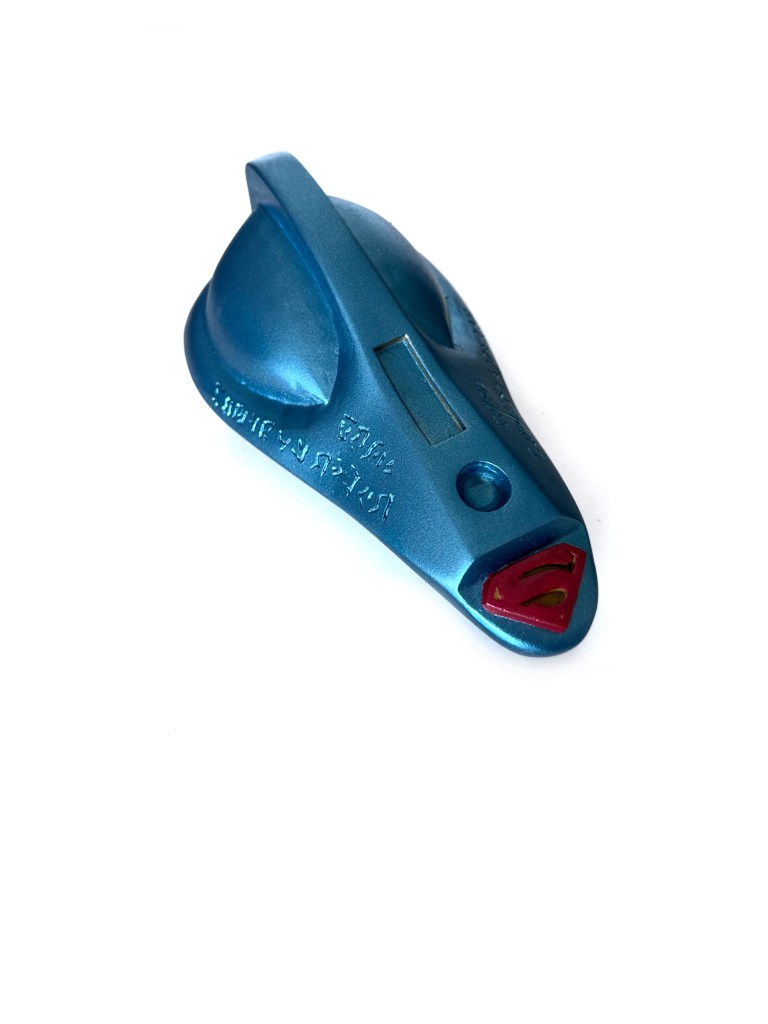
KRYPTONIAN SPACESHIP MODEL: I commissioned a simple 3D model of the thing years ago, and when a listener (shout out to Eric) offered to print a mini version of me, I was more than happy to share that model with him.
For such a small thing, it took a deceptively long time to finish.
Step 1: Many rounds of sanding, sandable primer, and filler. Rinse and repeat.
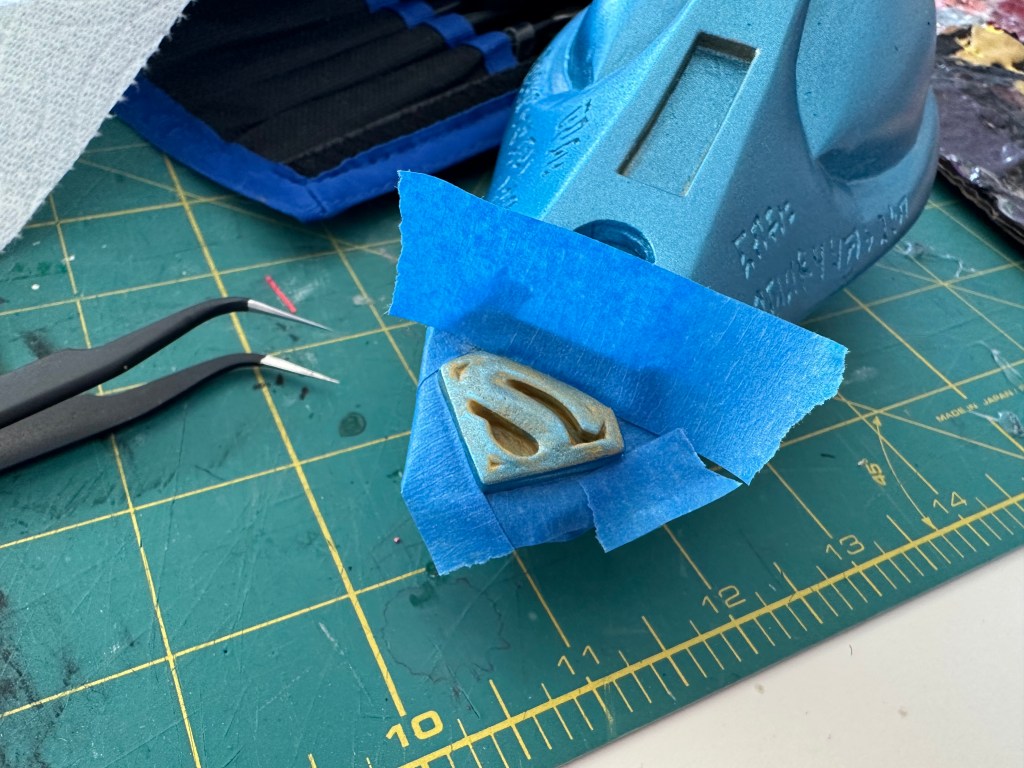
Step 2: Figuring out how to do the Superman symbol was a bit of a bear, but it wound up being pretty simple. After a lot of trial and error (I tried freehand cutting it out of styrene and made a few blobby messes with a 3D pen), I made a mold and cast a Superman Returns cufflink I already owned. Perfect fit.
Step 3: The Kryptonian glyphs were the most nerve-racking part of the whole thing. I sketched them on the ship, then carved them out with a Dremel. Sounds simple, but YOU WEREN’T THERE!
Step 4: A bunch more sanding and, finally, painting. I lucked out that the paint I bought wound up being perfect by itself. No mixing required. A little red and gold detailing for the S, and done!
I made a few little models of the ship in clay when I was young (photos below) but never imagined I would have one that looked this great! The perfect little keepsake.. until I figure out how to make a full-sized one, of course!


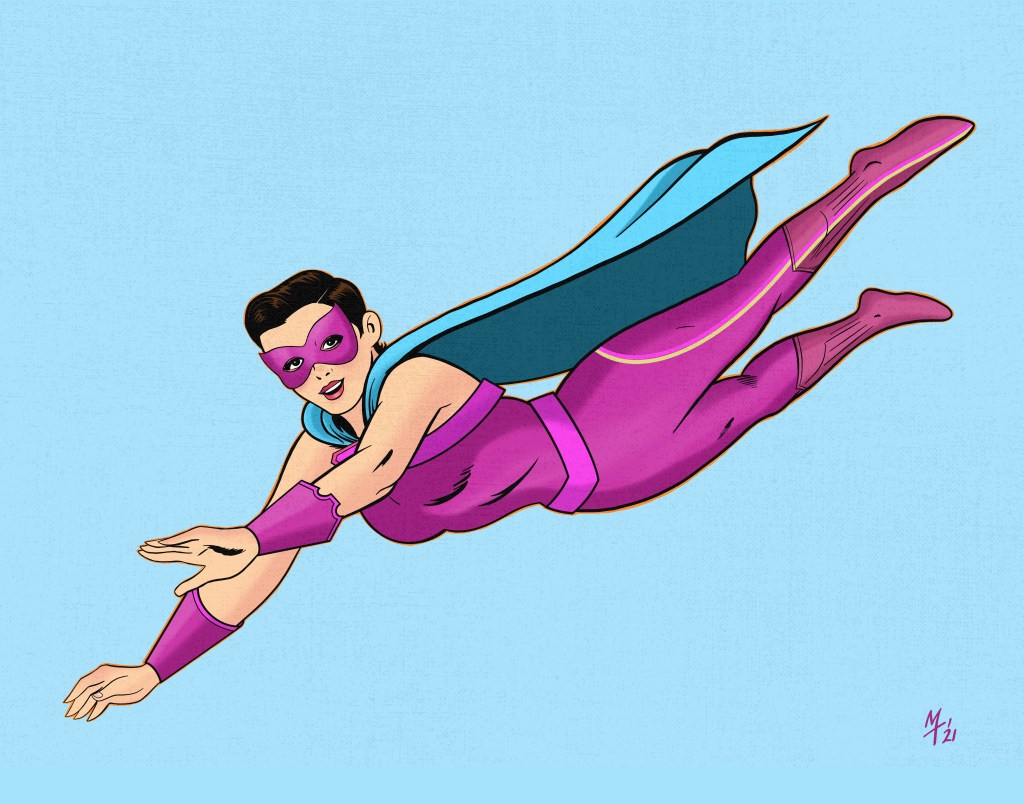
FAN ART
What can I say? Sometimes you just want to draw the characters you love.


PODCAST STUFF
Want some more L&C goodness? Check out my podcast, Lois & Clark’d: The New Podcasts Of Superman on Apple Podcasts or wherever else.


Leave a comment